Here's what the living room looked like before:

This picture is from March 2009 when we moved this furniture down from the loft (where we had built a 4th bedroom), painted the 2 walls this deep brownish-purple, and bought the new painting.
Here's what it looks like NOW:

I LOVE IT! I decided half way through to put a shelf on the top. I went with a 3" board and I am VERY excited about all the decorating possibilities with that! But right now I am OUT of extra money ; ), so I'll have to work on that later! I know exactly what I want to go on either side of the painting...but I just haven't found it yet!! I want big chunky wood sconces. I actually saw a post on House of Smiths a while back and she had painted some bookends and they were exactly the shape I was looking for. So now I am on the lookout for some chunky bookends that I could adapt to hang on the wall. We'll see if I can find 'em!
(Note: You can't tell in the picture, but the denim that I used to recover the couch has small colorful thread lines in it...and one color that really stands out to the naked eye is purple. The picture does not show how they coordinate! ; )
Here's a look from the other side:

Here's a picture of my little helper. ; ) He's really cute...but I was super nervous to even have him in the same room with the nail gun! He did get to help me paint in a couple places, though.

I have wanted to do Board and Batten for years now, but wasn't sure what to do about my orange peel walls. Then I saw a post on Centsational Girl that explained about putting up a smooth panel board and I knew I was ready to start the project! Having to cover the orange peel did add a little more work to the project, but it was worth it.
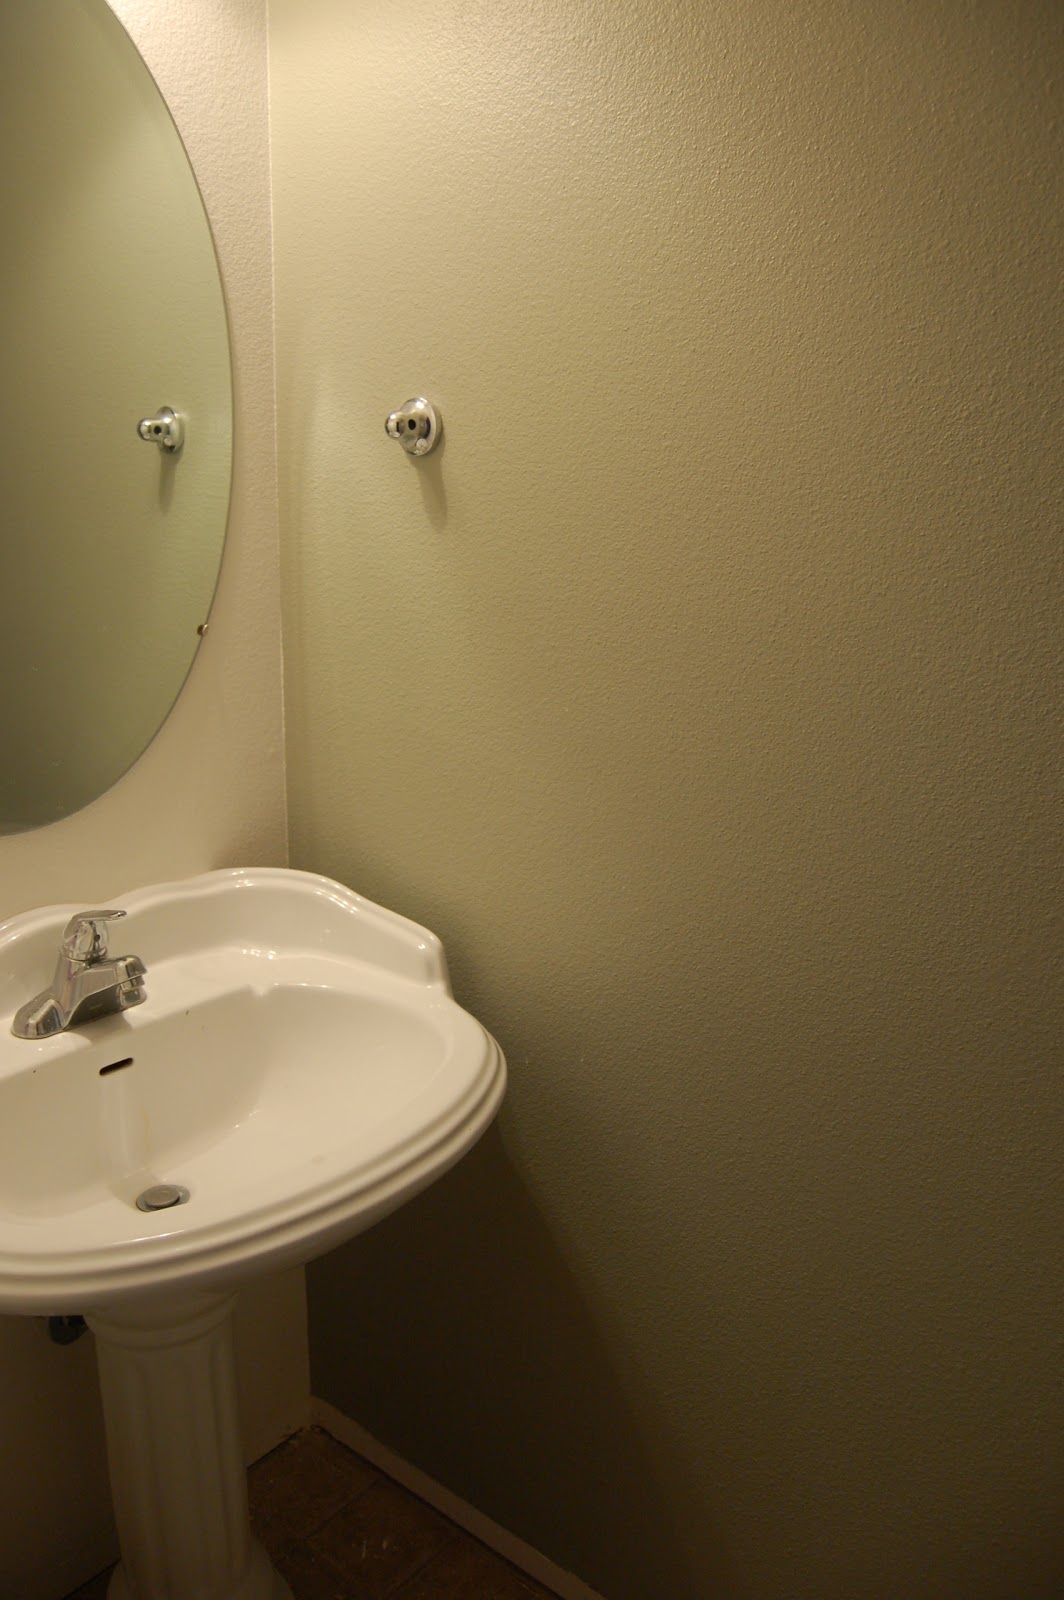
I decided to do my first board and batten in the bathroom that is just off this living room. Just one wall. Really simple. I knew I could finish it in a day or two and make sure that I wasn't going to totally screw up the living room! ; )
The board is actually called tempered hardboard and it has a bit of a smooth finish on it, so the first thing I had to do was sand it all down so that it would be paintable. I decided to cut it into manageable pieces (I was working alone) and make the seams fall right under where the battens would go.

I also decided to just put the board up and then do the priming once it was on the wall. These boards are very floppy and it was quite a pain to have them anywhere except on the floor of the garage. They did not get along well with the saw horses! So, I went a little crazy and actually cut them IN MY KITCHEN! ; ) I know...seriously crazy. But, again, I was working by myself. So, a girl's gotta do what a girl's gotta do!

I was VERY careful not to cut right into my table! This board is only 1/8 inch...so it cuts like butter!
Once I decided to put the shelf on the top, I knew I'd be cutting some molding for under it. This gave me a few huge headaches!! I never remember from one project to the next how to properly cut crown molding...so I did some research one night and found some good videos explaining it all. And even then, I made quite a few wrong cuts. It is such a hard thing to wrap my mind around...you have to cut it upside down and you have to think backwards in some cases. It was not a very fun afternoon, but I finally got it all in. One thing I was really proud of is my "outside corner return". I've never had to do one of these before...and I was so relieved when it actually turned out!


Another little FUN (ha!) glitch in the process....our dumb outlets. This small wall has two outlets on it. ONLY because we added the wall to the floor plan and they didn't tell us that it would automatically have an outlet on each side...so we paid for an outlet on each side. And OF COURSE, they both fell right where a batten needed to go. (I had already finished the long wall, or I would have probably done some adjusting and fixed this problem. Oh well, lesson learned...I need to plan way ahead before I start at all!) Luckily this is behind the fish tank for the most part!


One last note about the construction...late one night, I was finishing up the bathroom and I ran out of Liquid Nails, so I called a neighbor to see if they had any. He let me borrow this Power Grab tube. WOW...seriously better than Liquid Nails. I pressed the panel against the wall and it STAYED!! Unlike Liquid Nails that I had to sit there for 10 minutes and keep pushing it against the wall. I was in love...until I went to replace his tube and realized that it is TWICE the price of Liquid Nails. But, in the end, I bet it evens out since you probably have to use way less of the good stuff!

I have already bought all the MDF boards to re-do all the baseboard and trim in the downstairs. I am planning on doing some nice craftsman looking frieze boards over all the doors.
But for now, I am taking a break (from projects) and trying to just enjoy my new living room! I am in charge of Teacher Appreciation this week...so I am very busy, but it will be over soon and I'll be able to tackle all that trim!
you HAVE to come over to my house and see what fun things we can do here!
ReplyDeleteLove, love, LOVE it! I am soooo jealous. It looks fabulous! you did an amazing job, and i'm glad you put the shelf up!
ReplyDeleteI love it Rebecca! Can't wait to see it in person... although I don't know when that will be!
ReplyDeleteI really liked how you showed how you "ended" the trim on a wall with a curved edge. That has been very confusing to me, but now I know what to do. Thank you!!!
ReplyDeleteThat is incredible! It changes the whole look of the room so dramatically. Now I'm lookin' at my walls and dreamin' and schemin' :).
ReplyDeleteGreat job! It looks beautiful. You've inspired me to tackle my bathroom and if that comes out nicely, maybe my entire basement area. I saw your comment posted on Centsational Girl's tutorial and came over to look at your site.
ReplyDeleteThanks again for the inspiration!
www.carnoustielane.blogspot.com (we have the same wallpaper).
i have a little one not quite as old as yours with a hint of red...made me run and give mine a hug...(then put him down for a nap and continue on with my board and batten project where my outlet falls right where i want to but a vertical piece)
ReplyDelete